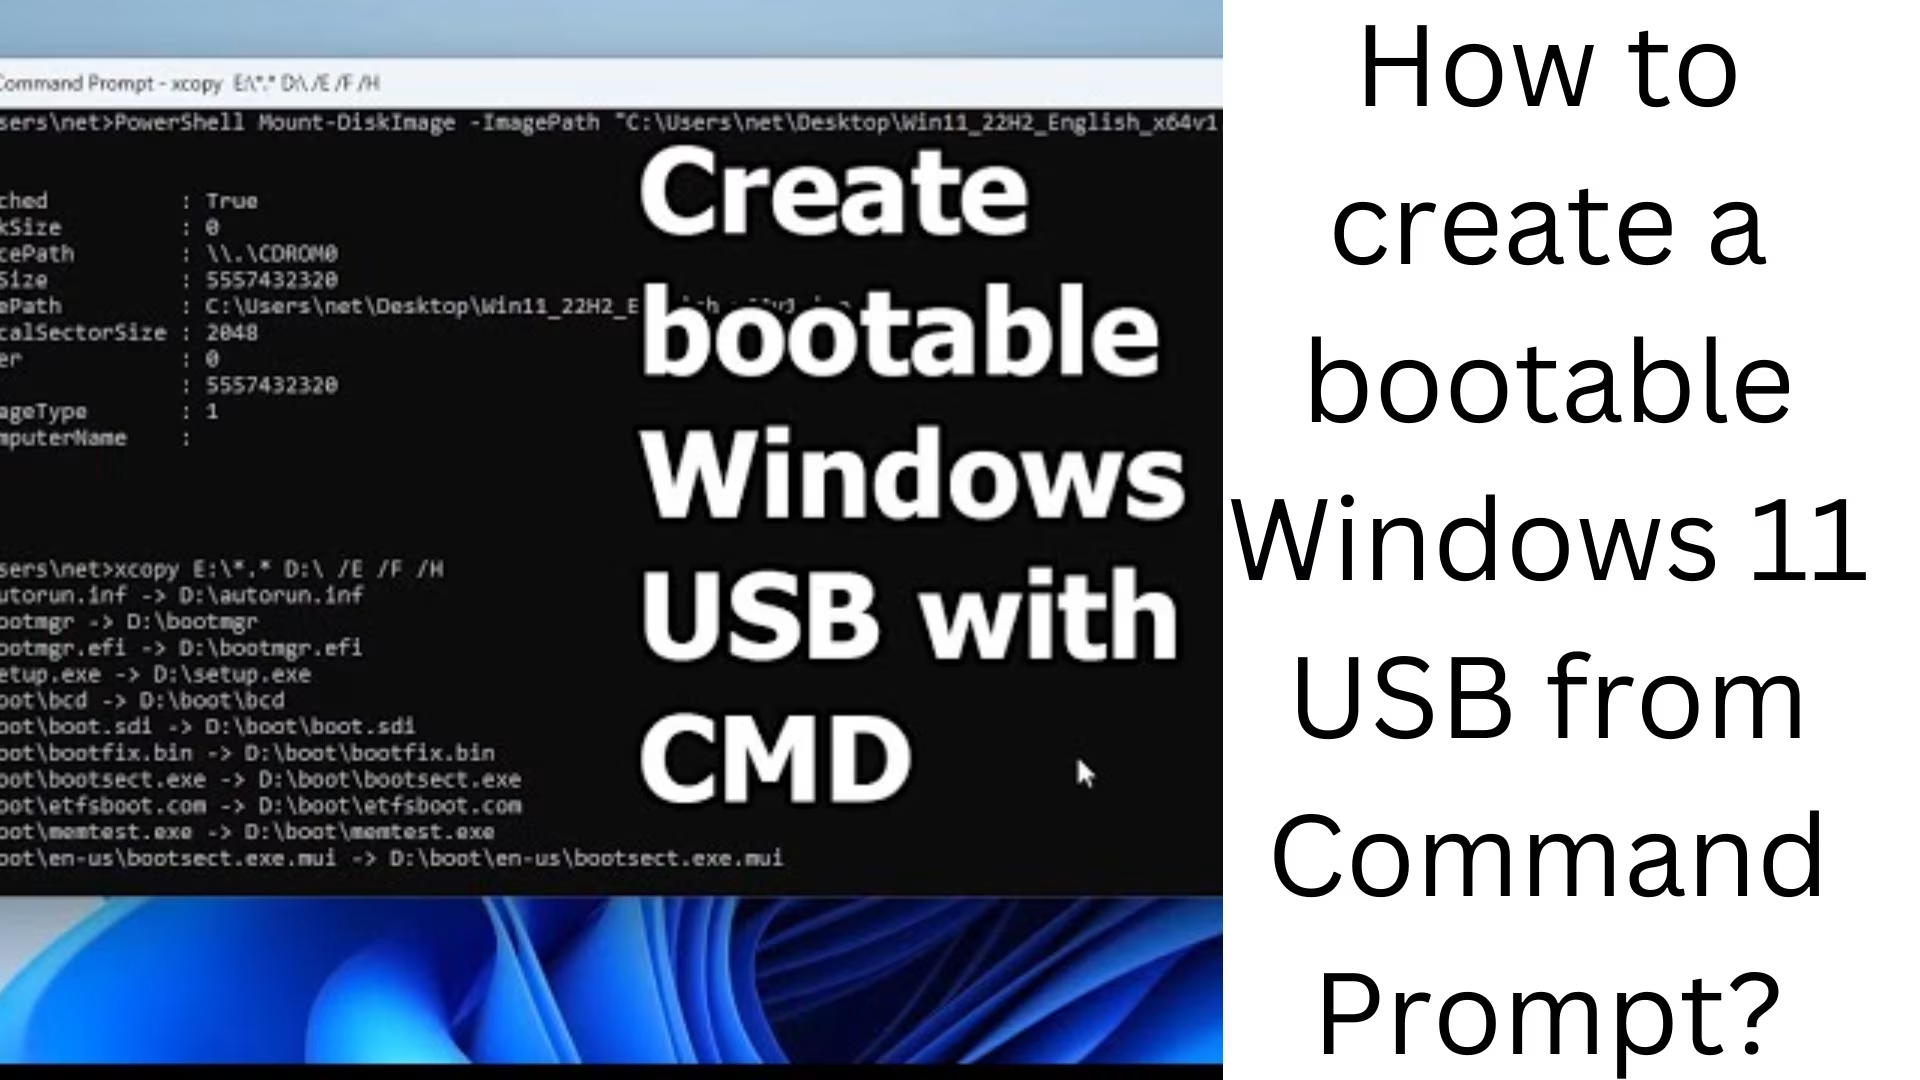
To install Windows 11 from a USB drive, we need to create a bootable USB drive. There are many tools available for this, but if we use Command Prompt (CMD), it proves to be a fast and reliable way. In this article, we will provide a step-by-step guide so that you can easily create a Windows 11 Bootable USB.
Things required to create Windows 11 Bootable USB
USB drive (at least 8GB storage) – has enough space to hold the Windows 11 installation files.
Windows 11 ISO file – Download from Microsoft’s official website.
Windows PC and Command Prompt
Step 1: Connect the USB drive to the computer
Insert the USB drive into your computer and make sure it appears in Disk Management.
Step 2: Open the Command Prompt in Administrator mode
Type cmd in Windows Search.
Right-click on Command Prompt and select Run as Administrator.
Now a black screen will open where we have to type the commands.
Step 3: Format the USB drive using Diskpart
Now we have to format the USB drive properly using diskpart tool. For this use the following commands:
DISKPART
LIST DISK
The above LIST DISK command will show all the disks present in your system. Now you have to identify your USB drive (usually, it is Disk 1 or Disk 2).
SELECT DISK X # (replace X with the number of your USB drive)
CLEAN
CREATE PARTITION PRIMARY
SELECT PARTITION 1
ACTIVE
FORMAT FS=NTFS QUICK # If you are installing in UEFI mode, use FS=FAT32.
ASSIGN
EXIT
Note: FAT32 file system only supports files up to 4GB, if your Windows 11 ISO file is larger then use NTFS format.
Step 4: Mount the Windows 11 ISO file
Go to Windows Explorer and right-click on the Windows 11 ISO file.
Select the Mount option.
Now it will appear as a new drive letter (eg D:\ or E:).
Step 5: Copy ISO files to USB
Now we have to copy all the files of the Windows 11 ISO to the USB drive. For this use the following command:
XCOPY X:\*.* Y:\ /E /F /H
X: is the drive letter where the ISO file is mounted.
Y: this is the letter of your USB drive.
With this command, all the Windows 11 installation files will be copied to the USB drive.
Step 6: Make the USB drive bootable
Now we need to use the bootsect.exe command to create a bootable USB drive. This command adds the Master Boot Record (MBR) to the USB drive.
X:\boot\bootsect /nt60 Y:
X: is the ISO drive letter.
Y: is the letter of the USB drive.
Now your USB drive has been created as a Windows 11 bootable drive.
Step 7: Install Windows 11 from bootable USB
- Plug the USB drive into your computer.
- Open the BIOS or Boot Menu (usually by pressing the F2, F12, or Del key).
- Select the USB drive as the primary boot device.
- The Windows 11 installation process will begin.
Conclusion
Now you have successfully created a Windows 11 bootable USB using Command Prompt. This method works fast and does not require any additional software. This is the best way if you want to install Windows 11.